🧱 Step-By-Step Guide – Elementor Basics
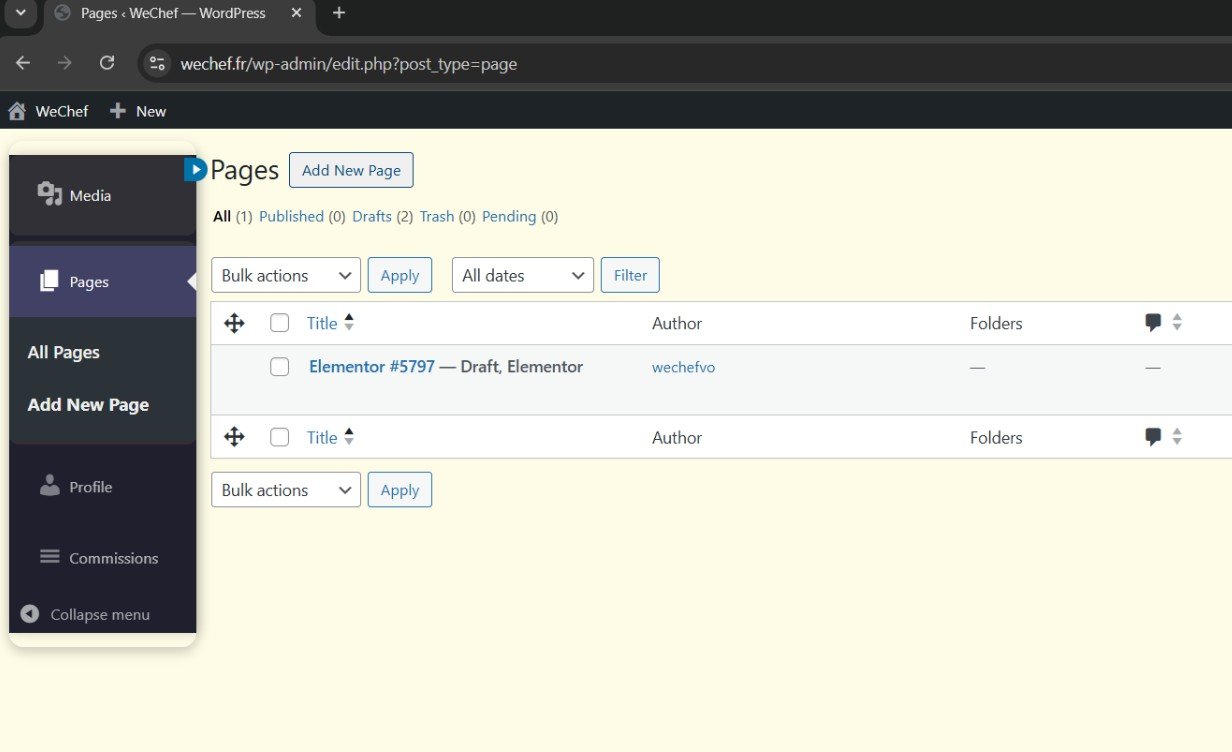
1. Create A New Page
Go to Pages > Add New in your WordPress dashboard, give it a title, then click on “Edit with Elementor” to start designing.

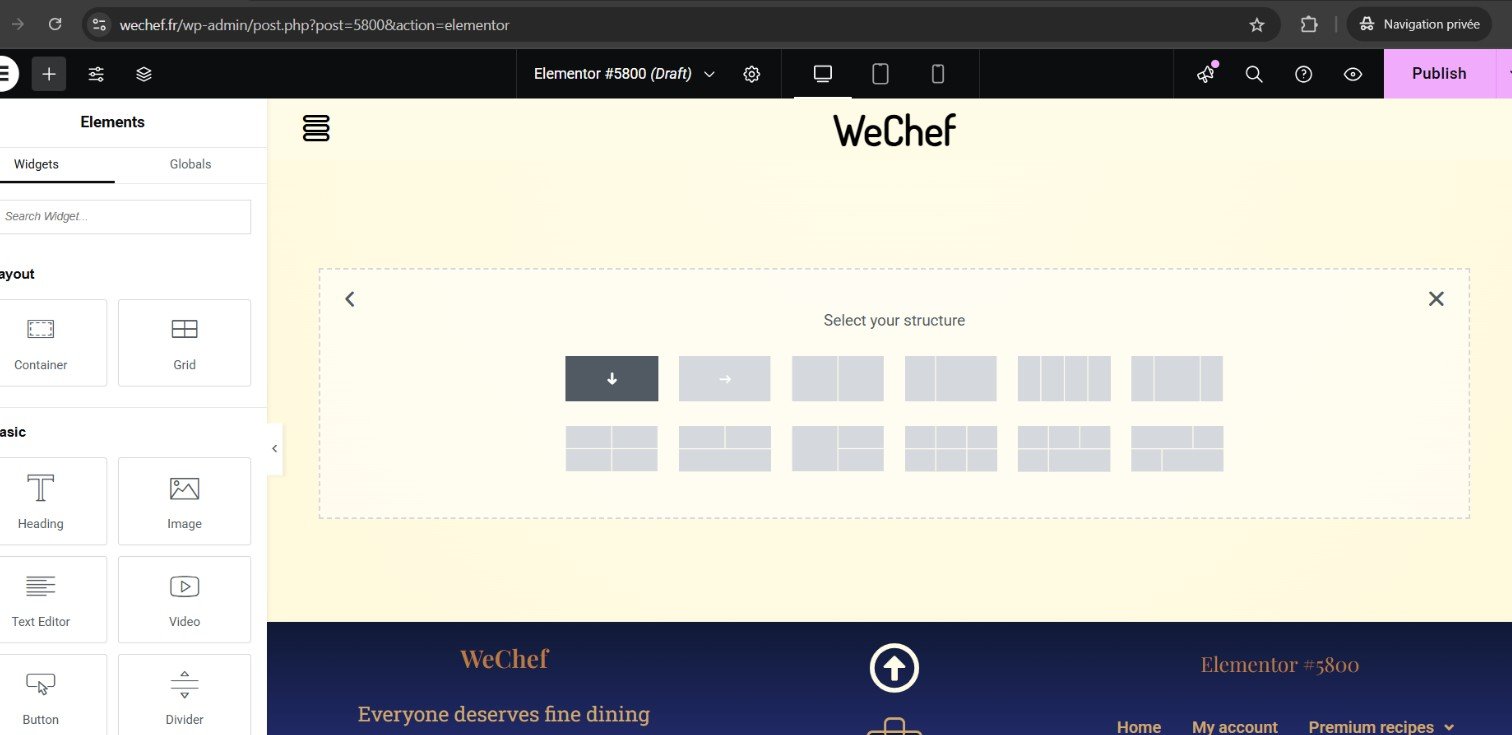
2. Add A Section
Once Elementor is open, click the big “+” icon to create a new section. Then select the number of columns you want (1, 2, 3…).

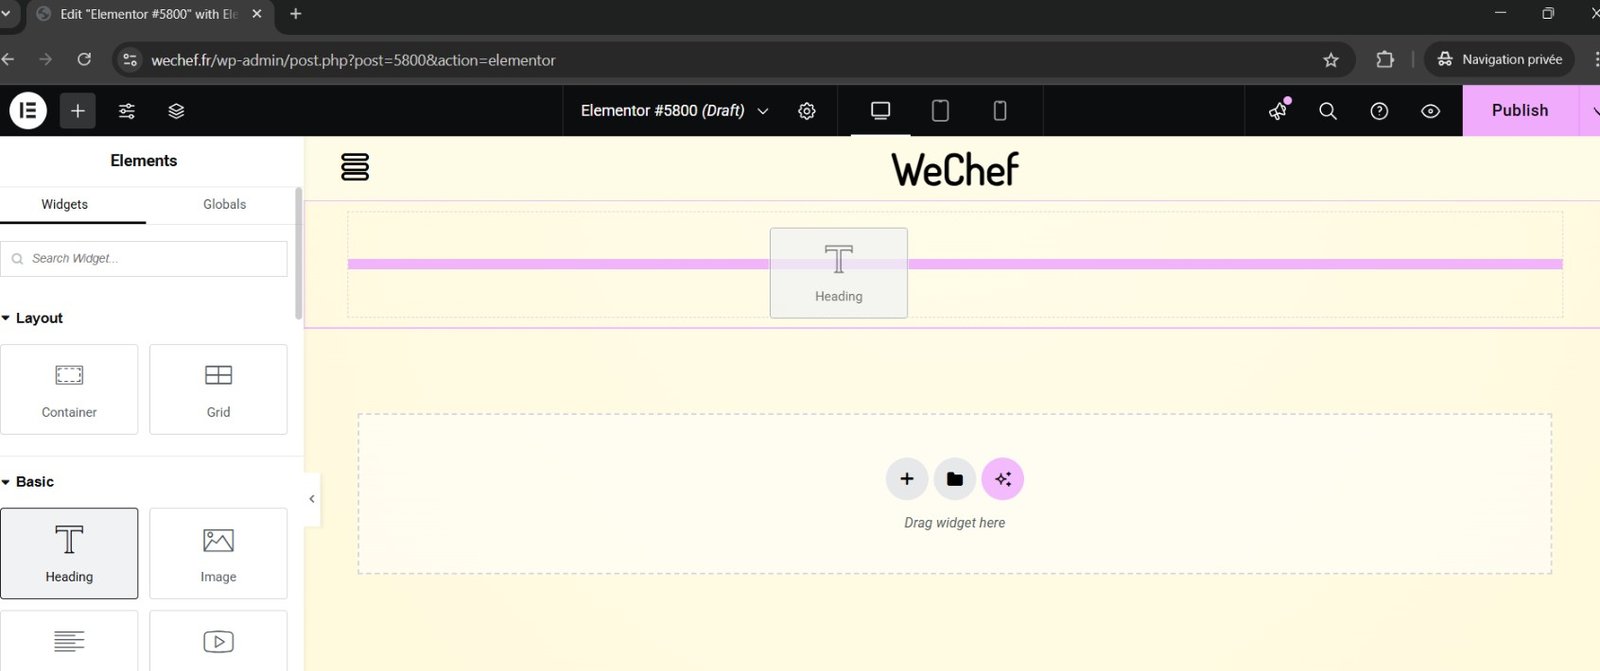
3. Insert A Widget
Drag and drop any widget from the left panel (Text, Image, Button...) into your section. Each column can contain one or more widgets.
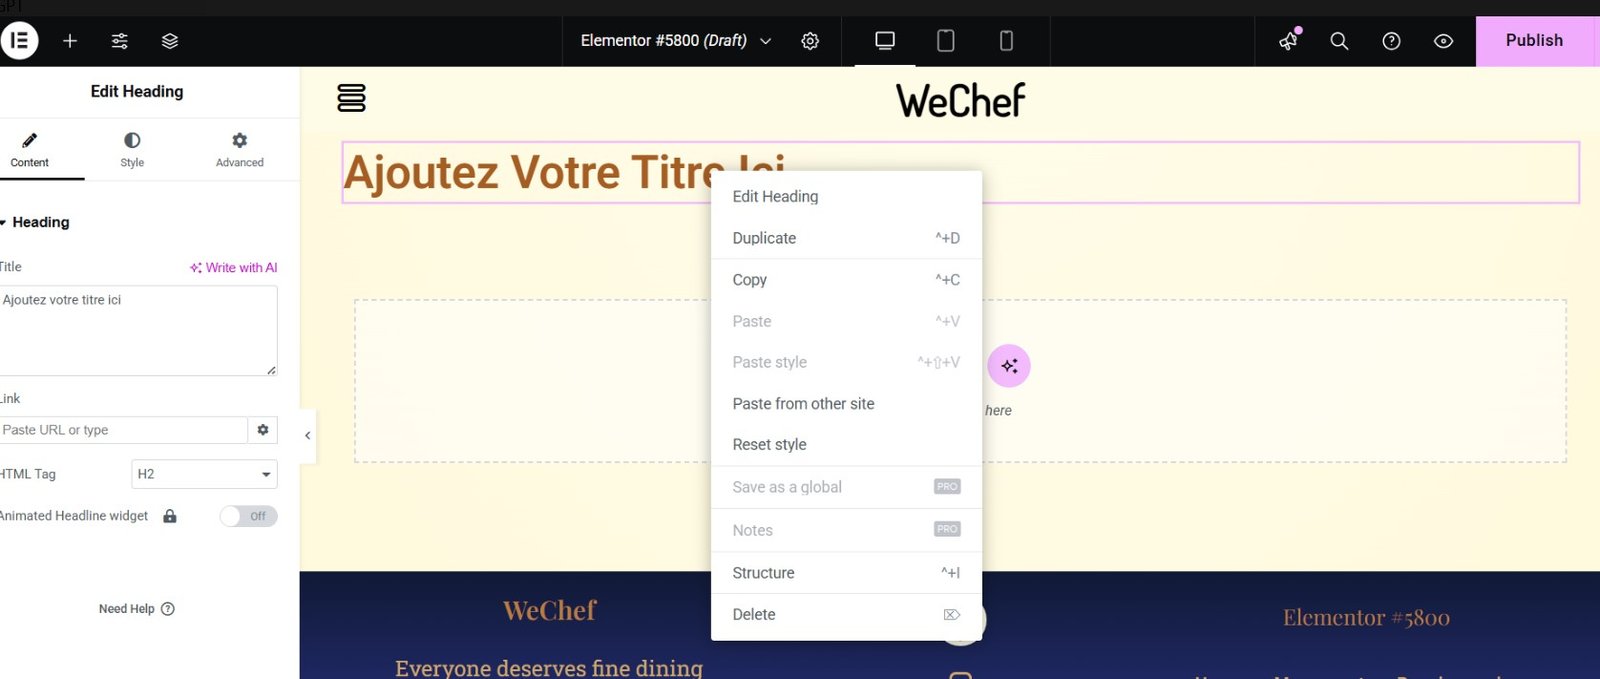
4. Organize Your Layout
Right-click on any element or section to duplicate, delete, or copy. You can also drag and drop elements to rearrange the layout freely.